
You can't get rid of nero 7 as it didn't install properly in Windows 7.
Are you confused to uninstall Nero 7
because it does not include an uninstaller option?
Are you trying to remove Nero 7 due to it
is freezing and your PC slows down?
Have you ever been frustrated that you have
deleted Nero 7, but it is still there?
When you are unable to delete Nero 7 by
manual and you don’t know much about Nero 7 removal, you could learn and follow
its uninstall instructions in this post.

How do you uninstall Nero 7 from your laptop step by step?
Tips
1: Manually Remove Nero 7 with Windows
uninstaller
Tips
2: Uninstall Nero 7 with program uninstall tool Perfect Uninstaller
Tips 1: How to delete Nero 7 by manual through Windows Uninstall applet
Most of you would like to get rid of
program through Windows Control Panel. However, you might miss some steps so
that you are not able to delete Nero 7.
So please carefully follow the manual removal
guides below:
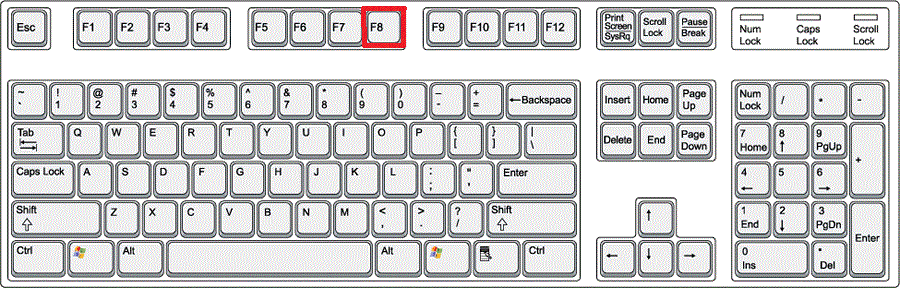
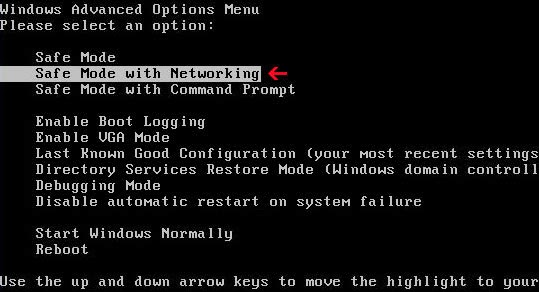
1.Restart your computer and press F8 key on your keyboard to get it into Safe Mode with Networking.
2.Show all the hidden files on your
computer at the first time.
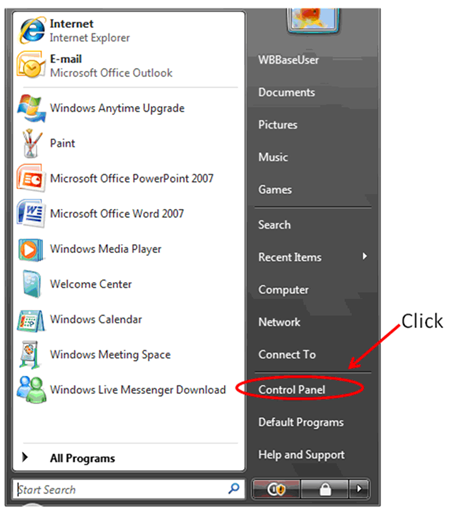
Guides: Open Folder Options by clicking the Start button, Control Panel,
Appearance and Personalization, and then clicking Folder Options. Click the
View tab, click “Show hidden files, folders, and drives” under “Advanced”
settings, and then click OK to take effect.

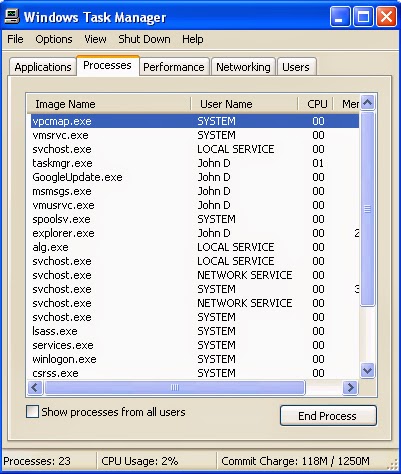
3. Stop all the related processes in Task Manager
Guide: Open task manager by pressing Alt+Ctrl+Del keys at the same time.
Another way is to click on the Start button and choose Run option, then type taskmgr into and press OK.

4.Disable all the unwanted program
processes
5.Delete all the following files related to
Nero 7
%AppData%\.exe
%CommonAppData%\.exe
C:\Windows\Temp\.exe
%temp%\.exe
C:\Program
Files\
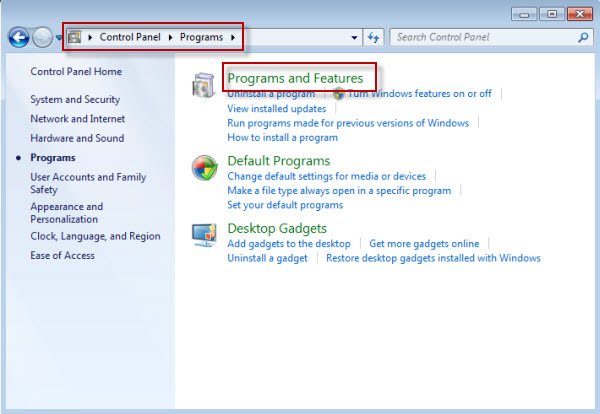
Click “Start Menu” > Select Control
Panel option
Select “Uninstall a Program” (Programs and
Features) option
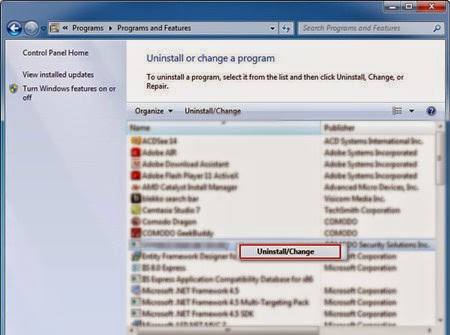
Click “Uninstall or Change” to delete the
application.
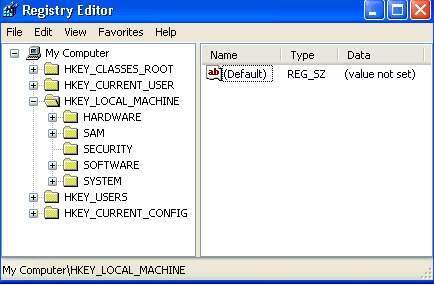
6. Open Registry Editor to delete all invalid registries entries as
below

Guide: open Registry Editor by pressing Window+R keys together.(another way is clicking on the Start button
and choosing Run option, then typing into Regedit
and pressing Enter. )
Delete all the related registries as below:
HKEY_LOCAL_MACHINE\SOFTWARE\Microsoft\Windows
NT\CurrentVersion\Image File Execution Options\msconfig.exe
HKEY_LOCAL_MACHINE\SOFTWARE\Microsoft\Windows
NT\CurrentVersion\Image File Execution Options\msmpeng.exe
HKEY_LOCAL_MACHINE\SOFTWARE\Microsoft\Windows
NT\CurrentVersion\Image File Execution Options\msseces.exe
HKEY_CURRENT_USER\Software\Microsoft\Windows
NT\CurrentVersion\Winlogon "Shell" = "%AppData%\.exe"
HKLM\SOFTWARE\Classes\AppID\.exe
After you finish steps, you should restart
your pc to confirm the Nero 7 removal. If you are not good at handling this
method, you could try Tips 2 as
following.
Tips 2: How to fully get rid of Nero 7 with Perfect Uninstaller?
If you are not sure you could handle the
manual program removal above, it is recommended you to get rid of Nero 7 with Perfect Uninstaller as following.
1.
Download Nero 7 uninstall tool Perfect Uninstaller
2.
Close all running processes
including programs and browsers in the Task Manager before you run Perfect
Uninstaller
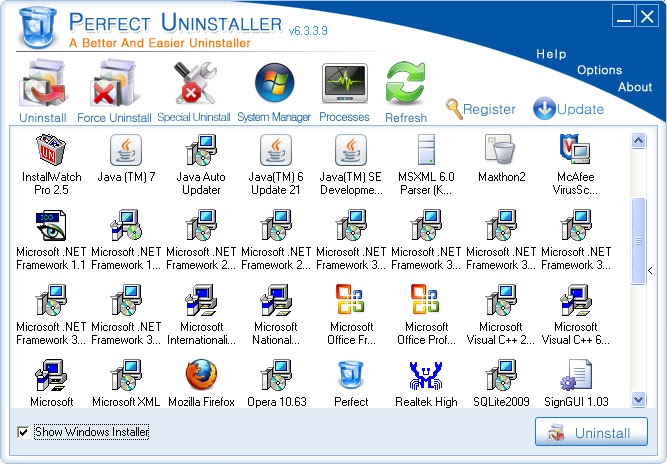
3.
Find and locate the unwanted
software on the currently installed programs list
4.
Click “Uninstall” button on the
right side to remove Nero 7.
Alternatively, you could right-click the
folder of the unwanted program (normally, in C:\Program Files) or C:\Program
Files (x86) in Windows 7 system 64 bits and then select “Force Uninstall with PU” to apply the “Force Uninstall” utility.
5.
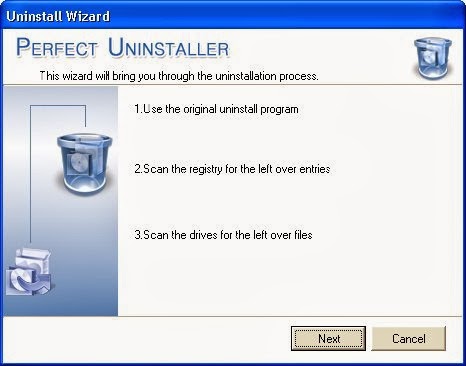
Follow the prompt “Next” steps
to delete Nero 7.
6. Click "Next" to start scanning
the registry files about the unwanted program.
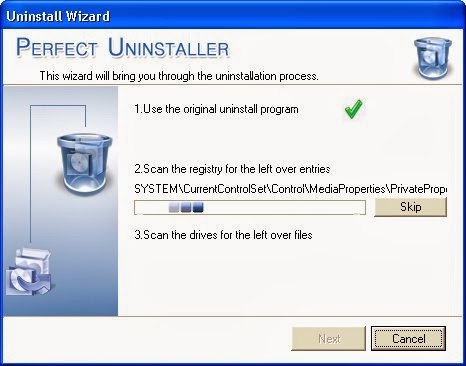
7. It will take some time to finish
registry scanning. If you don't want to wait, you could click "Skip"
option and cancel the scanning.
8. After the registry scanning is
completed, click "Next" button to select all related files.
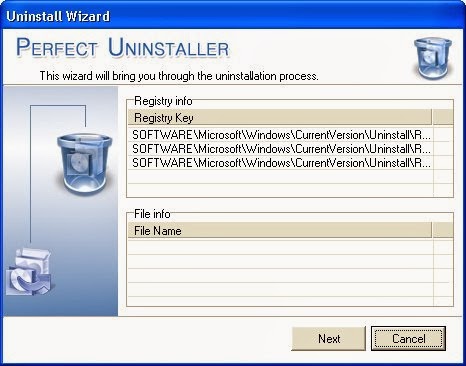
9. Click "Next" button to delete
all related files.
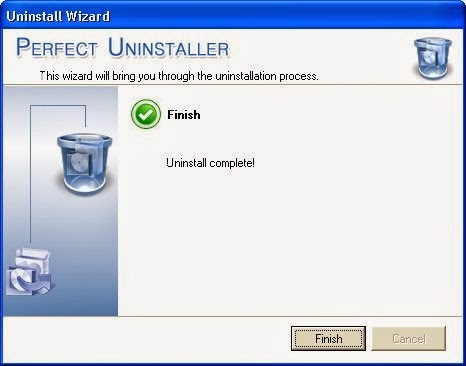
10. Finally, click "Finish"
button to complete the removal steps.
After you finish the onscreen removal
steps, Nero 7 has been deleted from your PC.
What’s more, you could double-check the
infection of the program with RegCure
Pro to improve your PC performance.

2.Click “Click to Start Scan” button to repair and optimize your computer.
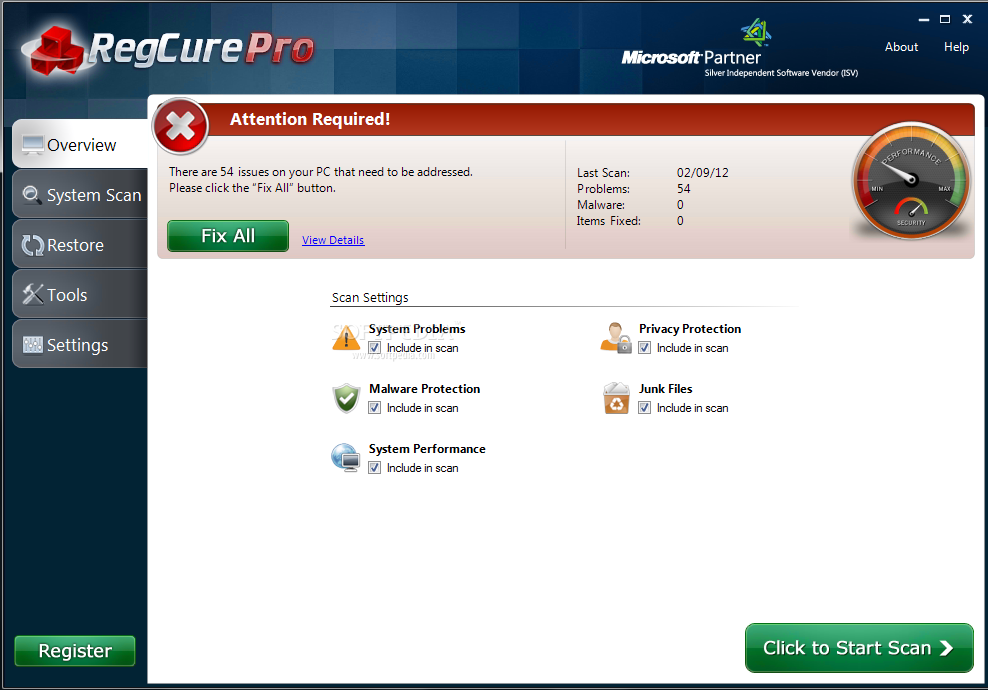
3.RegCure Pro will have a full scan to
detect all invalid files which will slow down your PC.

4. Click “Fix All” button on the down-right side to fix all problems and
speed up your computer after scanning your PC.
Can’t remove Nero 7? Perfect Uninstaller is
your choice (100% Guaranteed)
No comments:
Post a Comment